Master Pyraminx Algorithms
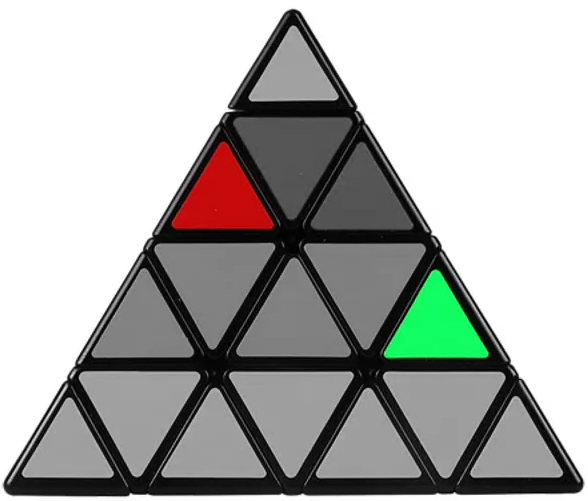
When I first moved to Sweden, I purchased the new flat-edged Master Pyraminx. The puzzle looks great and I solved it a number of times. Then, I forgot how.
It’s strange; I can still solve the rest of my puzzles, or at least I think I can. In recent months, I’ve returned to the puzzle each time frustrated by my lack of memory and the unclear tutorials online. Today I checked again and hobbled together a solution. As always, for my own purposes, here are the steps I used to finally remember this solve!
Step 1: Solve One Face
Well, of course, get tips matching their adjacent sides first and get all three corners properly aligned. Then, pick one face to solve. This requires some intuitive positioning but it shouldn’t prove too difficult. Get those three center edges and then fill in the remaining six middle-edge pieces.
Step 2: Flip Middle Edges
Sometimes you’ll have all these middle pieces placed correctly. If not, however, two will be placed correctly, but oriented in reverse. In this case, move the correct piece to the back. Then you perform this algorithm, using intuition for replacing the bottom layer.
LD, RD, LU, RU
U’, L’, U, L

Step 3: Finish Second Layer
Here we bring the red piece down, not vice versa. Again we break the bottom layer, but that’s OK, it’s easy to fix! Of course, you can figure out the opposite if mirrored, so use intuition when figuring out what goes where here.
l, R’, l’, R’
Then get the U out of the way (u’)
L’, u, L, u’
Step 4: Centers
There are three possibilities here. Centers are all solved, none are solved or three are out of place. You could solve centers earlier or at the end, but if you have three centers misplaced, the algorithm will make you repeat the final step, so here’s a good time to do this algorithm.
To solve four centers, place opposite centers on top and bottom. It should be an easy one here:
LD, RD, LU, RU (x3).
As I mentioned, when three centers are out, it messes with things. This is sometimes referred to as parity. For this case, place the one properly-placed center on the left side and do the following:
R, U, R’, U (x2).
If this doesn’t swap your centers correctly, do it again. Done!
Step 5: Last-Layer Edges
All that should should remain are last-layer edges. Either these are solved or they need to be permuted. These could go clockwise or counter-clockwise. The algorithm here works opposite of that rotation. But it’s easy enough and can be done twice to accomplish the same result.
R, U, R’, U, R, U
Change that to U’ for a clockwise last-layer spin.