Petal Pyraminx Guide
 This little puzzle isn’t altogether too difficult, but it’s a good-enough challenge. As always, I need a little help to push myself through these and I will inevitably forget it all. For the sake of posterity, here are the instructions I’ve worked with, alongside some help from this tutorial.
There are only really four major steps to solving this puzzle: two on the Pyraminx portion and two on the inner circles. Step 1 is just matching the tips. This is easy. Step 2 gives me trouble sometimes because, unlike a Pyraminx, you can’t just rotate the tips when need be. Here’s what I do:
Get one face. Once done, you will have either all edges solved, 2 wrong (flipped) or 3 wrong. Usually it’s the latter.
Move the 3rd side to the bottom (requiring two turns) / Then do a standard d/d/u/u / Move the 3rd side back.
If you did it right, all will be properly positioned. However, many times you’ll have two edges flipped. Holding them on the left and right, do L/R’/L’/R – then U’/R/U/R’. This is the normal Pyraminx alg.
- Situate tri-color tips so they’re all aligned.
- Solve the 6 two-sided edges to match those tips.
- Solve small inner-circle triangles.
- Solve large inner-circle triangles.
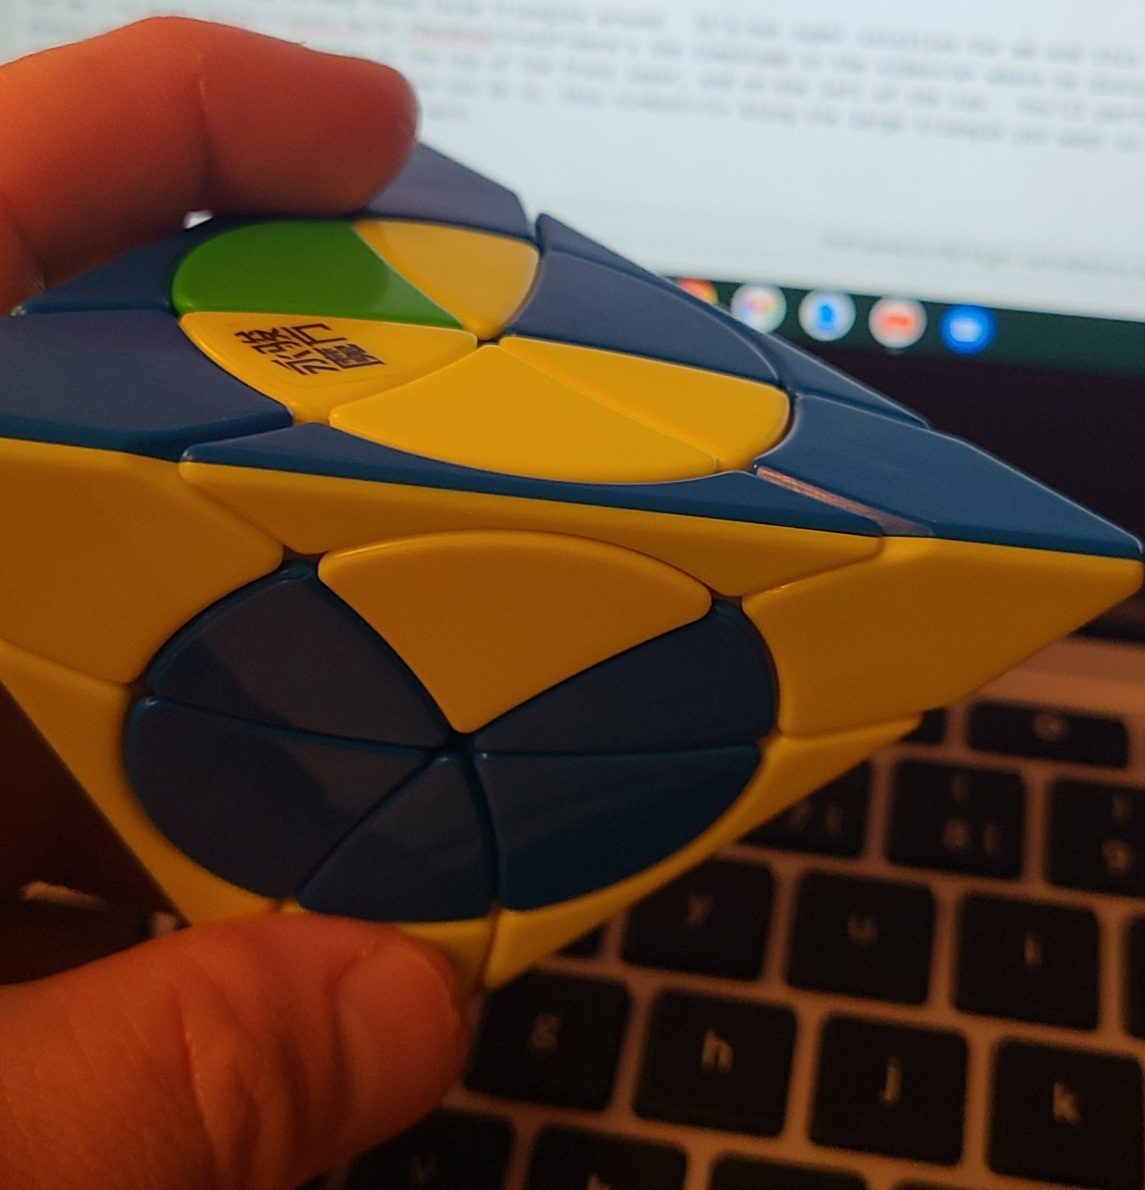 The tutorial shows how to swap those large triangles around. It’s not super intuitive for me and this is the hardest step for me. Here’s the timestamp in the video where he discusses this, but he places the swapped large triangles on the top of the front layer, and on the left of the top. You’ll perform this using the right layer of the side facing you. When you do it, this must bring the large triangle you want to swap up with it. If not, something is wrong and it won’t work. In this photo, the triangle is positioned properly.
Up, Circle Right
Down, Circle Left
Up, Circle Right
Down, Circle Right
Up, Circle Left, Down
All the circle rotations are done on the top layer, FYI. Good luck!!!