At this stage of the game, more than 10 years into cubing, I collect based on looks and solves together. Some puzzles look great but I just know that a solve is a lot of work or that it’s not particularly fun. While helicopter puzzles look great, they aren’t often too difficult and so I figured I’d take the plunge with this one as part of a very-large purchase. The solve isn’t too bad, but I did need help on the later steps. Enter Twisty Puzzling’s tutorial. And here are the steps to solve this guy!
WIP: More To Come!
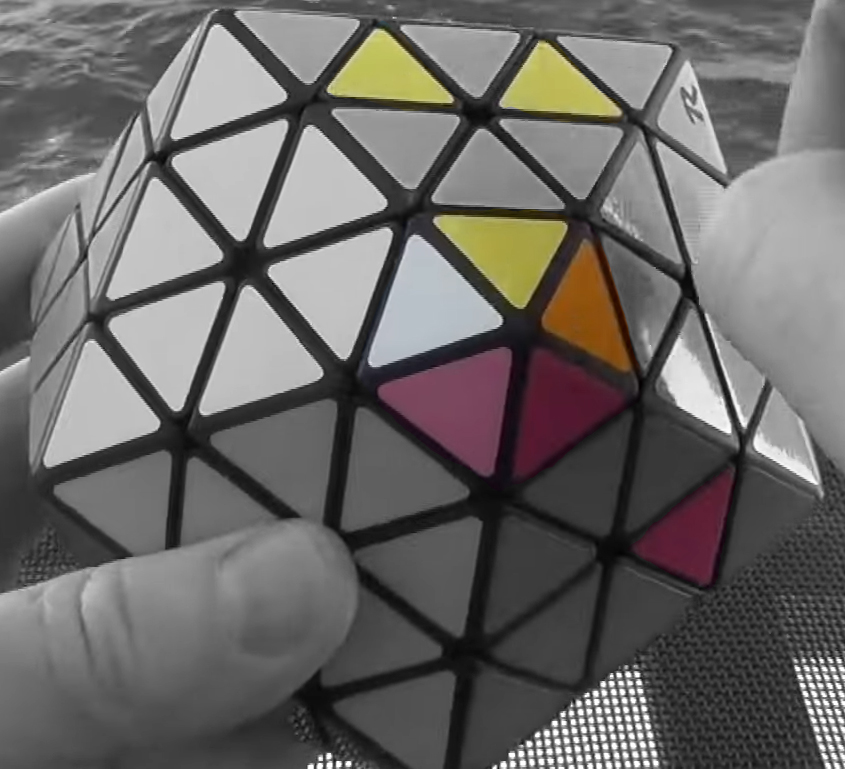
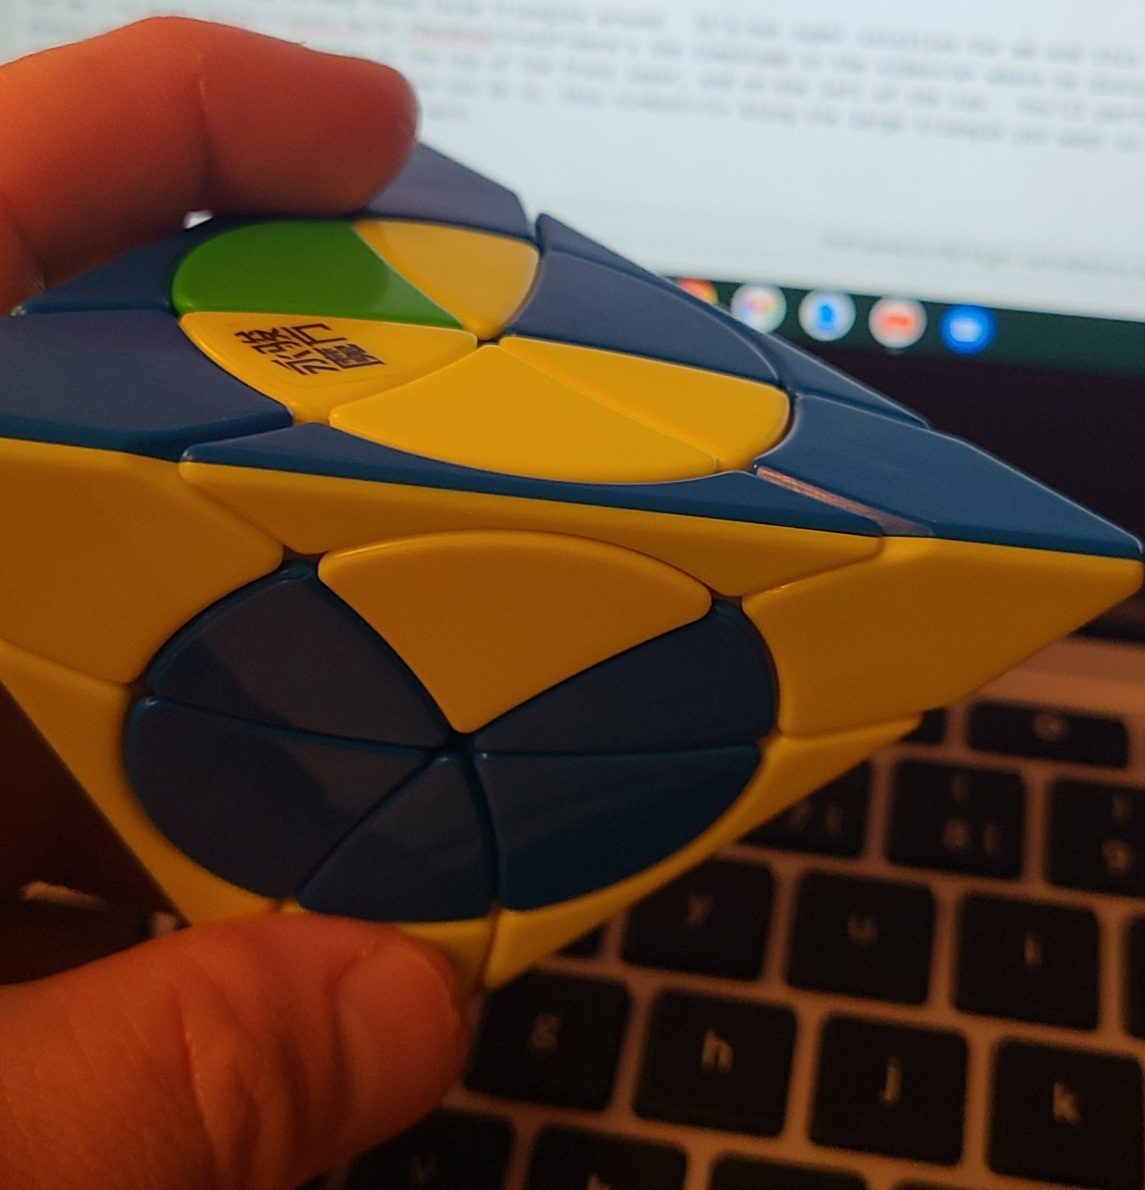
Step One: Solve the bottom face
This was intuitive and I got my white face situated pretty easily. Moving things around isn’t hard when you have plenty of free space to deposit things temporarily. This step situates the white face and the entire ‘layer’ above it all the way up to the long, edge pieces of each helicopter wing.
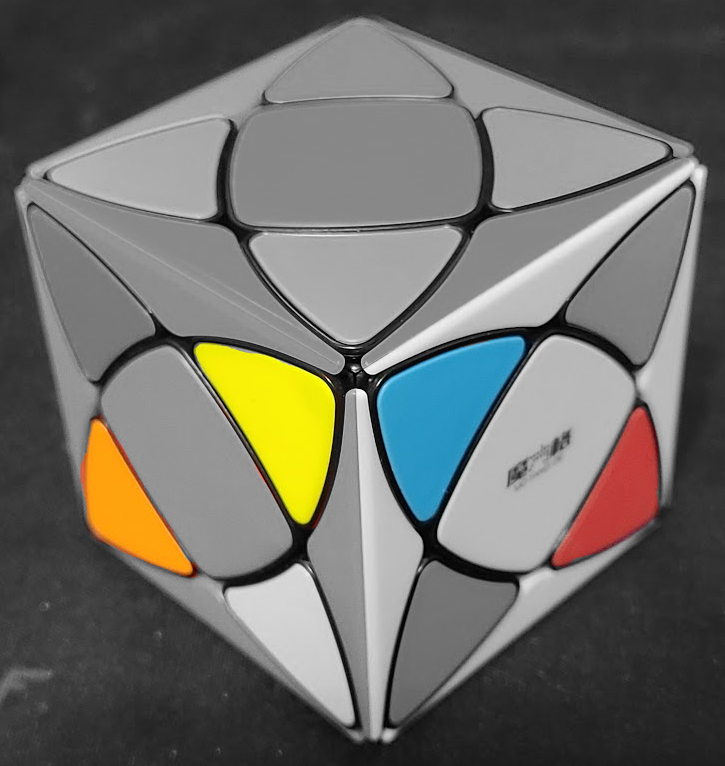
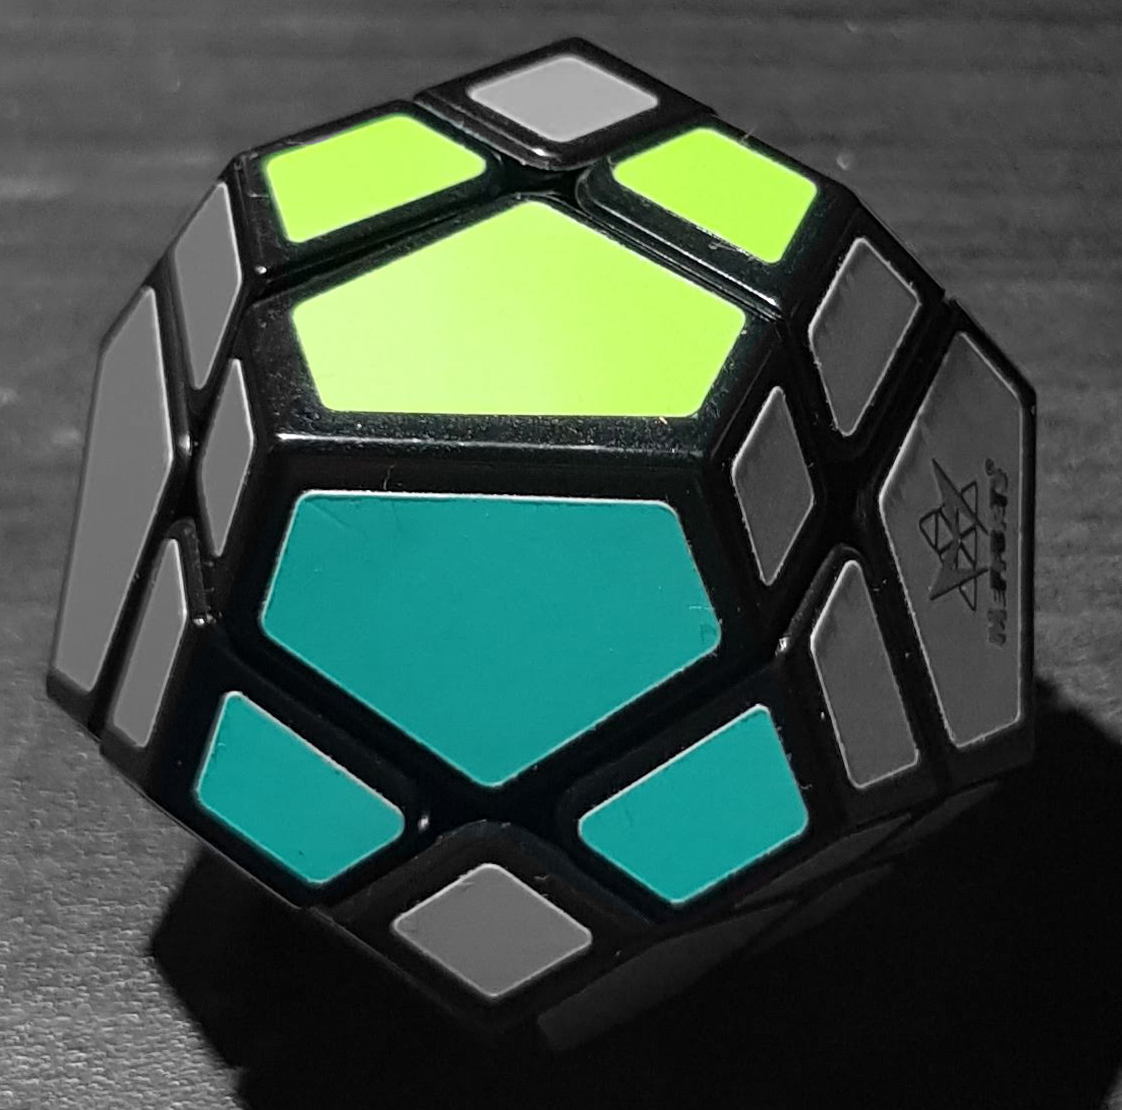
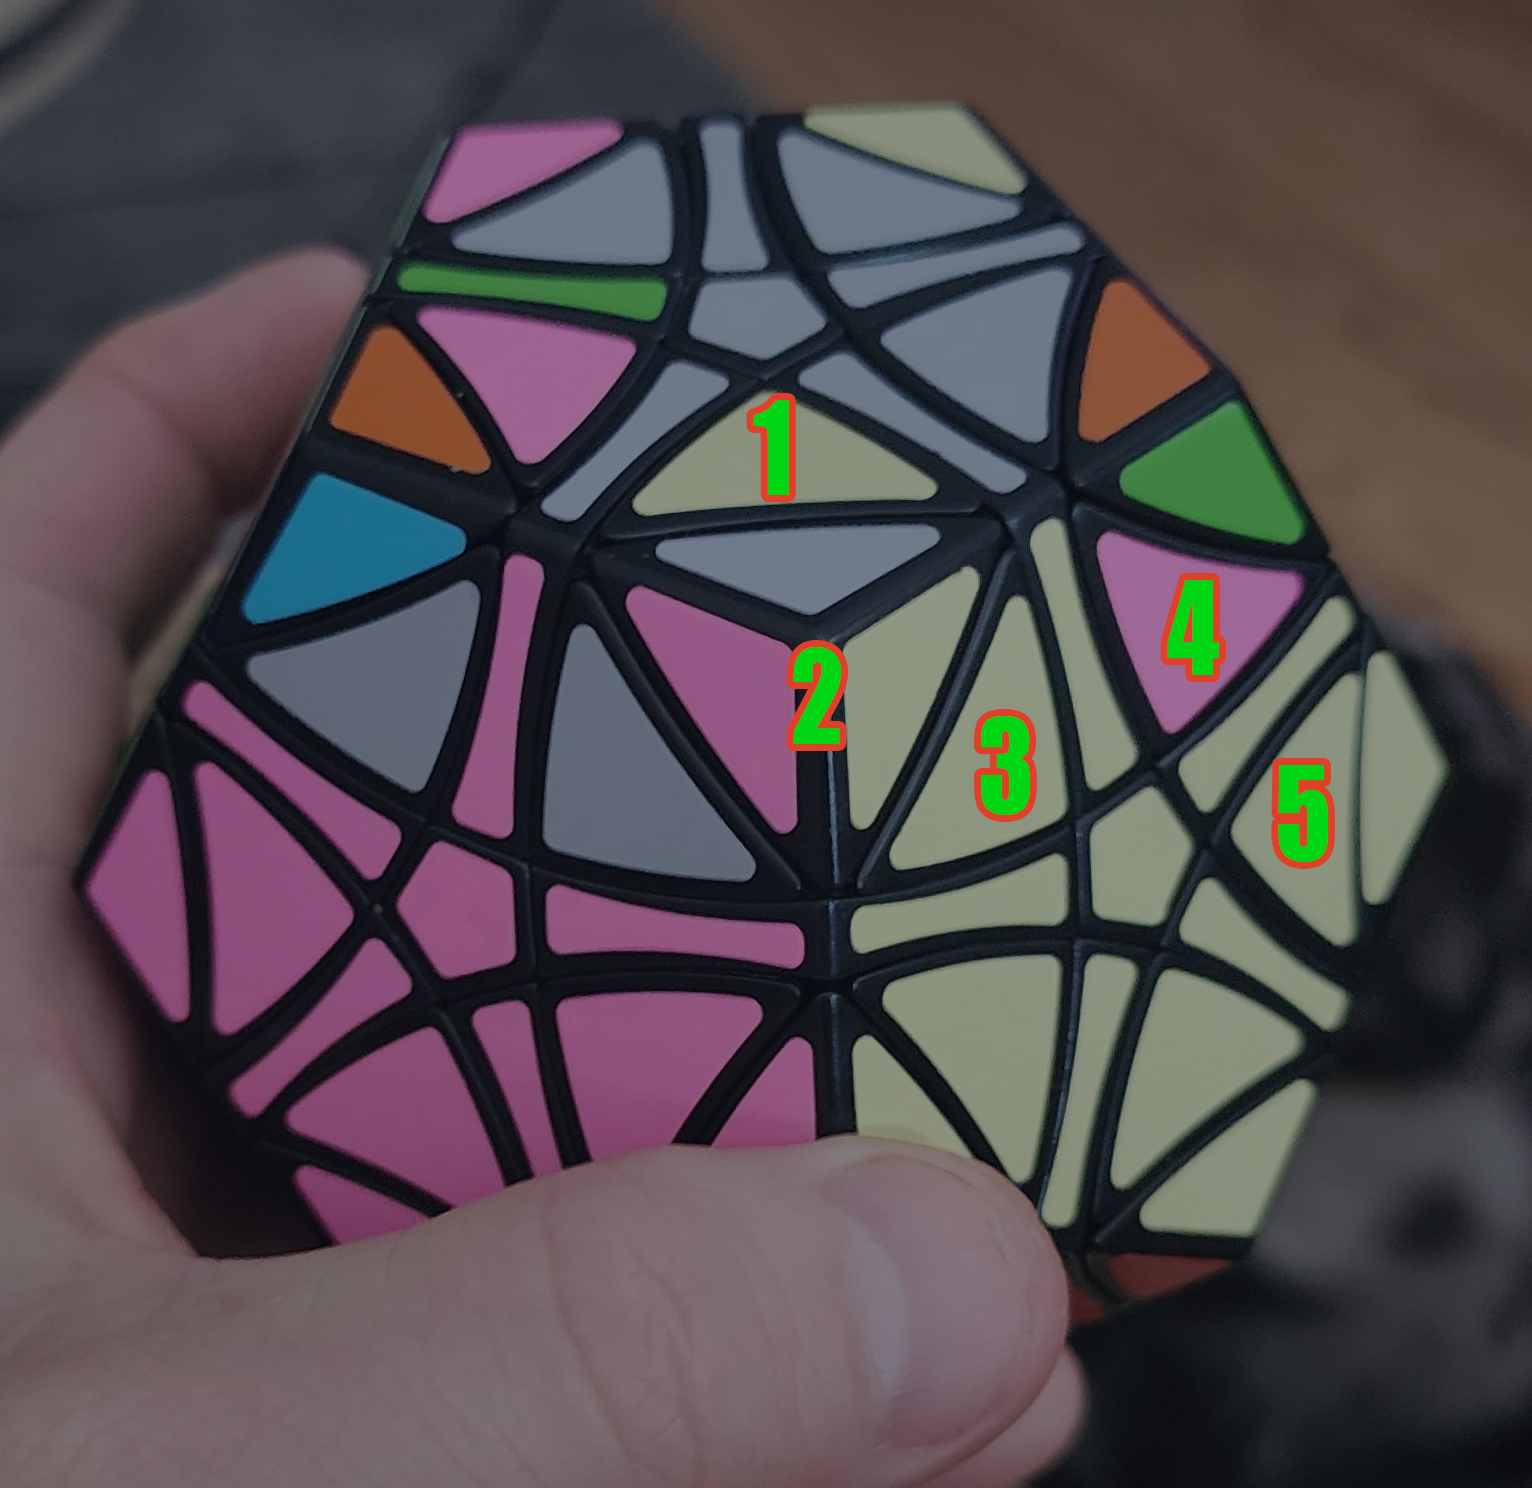
Step Two: Start building the bottom middle layer
This isn’t much of a layer, but here you’re going to want to maneuver these numbered pieces into place. I’ve numbered them in this photo in order of sequence. Some of these are intuitive, but keep moving around to the right of the puzzle. If you need to rotate one of the three-colored centers, just see the orientation on the top layer. If it needs to rotate clockwise, then spin it around the top layer counter-clockwise and vice versa. Move things out of the way as necessary here and as you get to the very end, use intuition to figure out the final pieces.
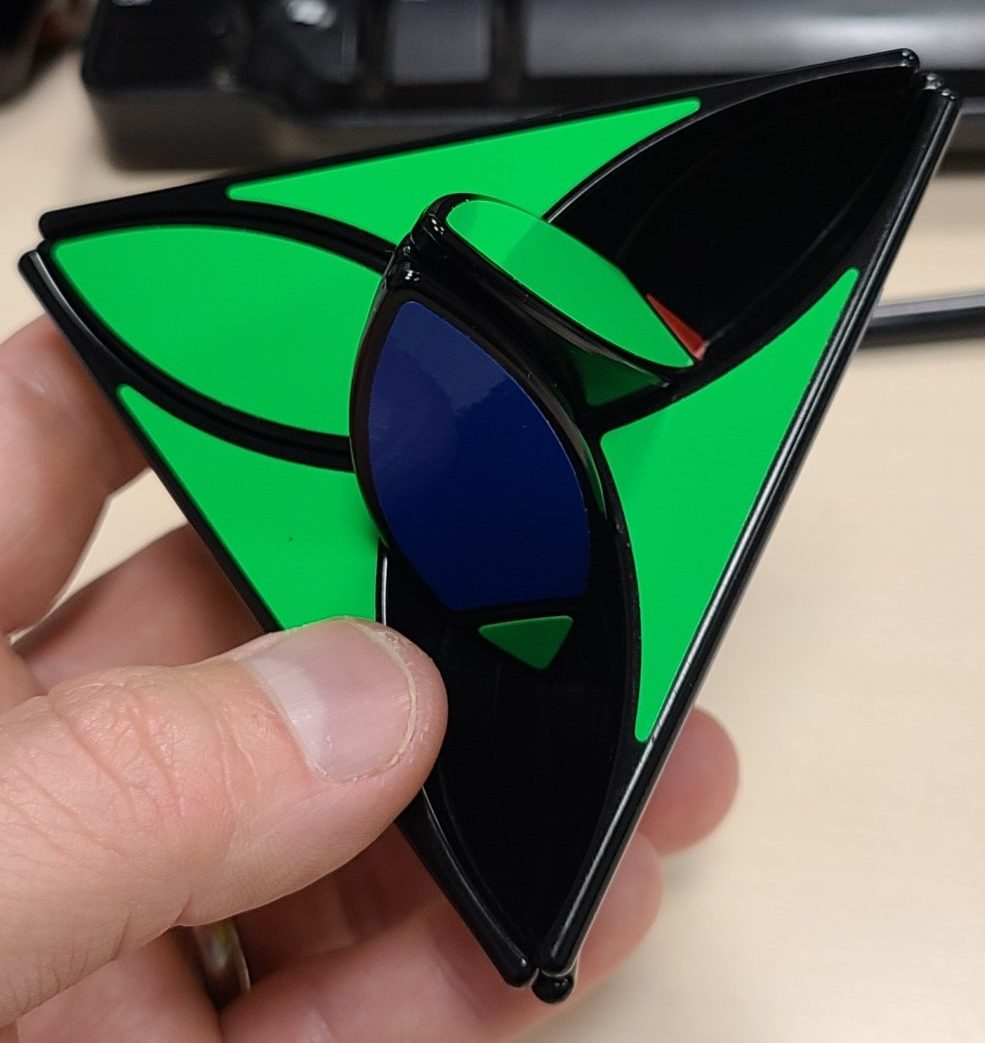
Step Three: Build the top middle layer
Now that you have the second layer done, your focus is the top-middle layer. This will include the higher three-colored pieces and the two petals to the left and right of them. You can do the centers (those three-colored pieces) first or build these all on the top layer and bring them down. So far, nothing too difficult.
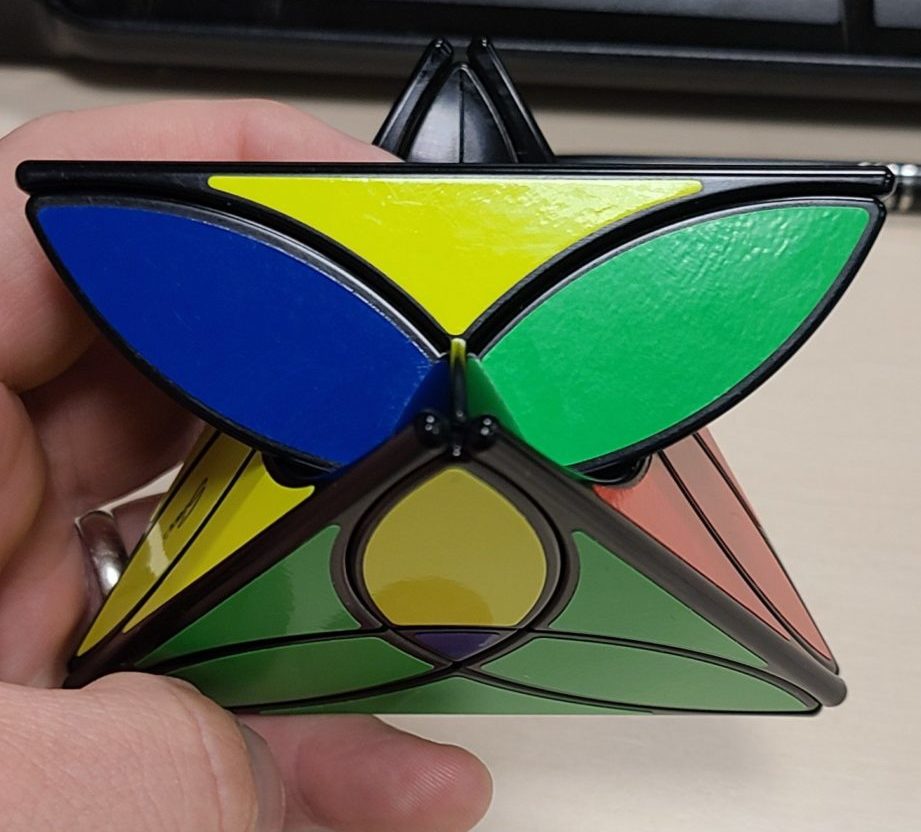
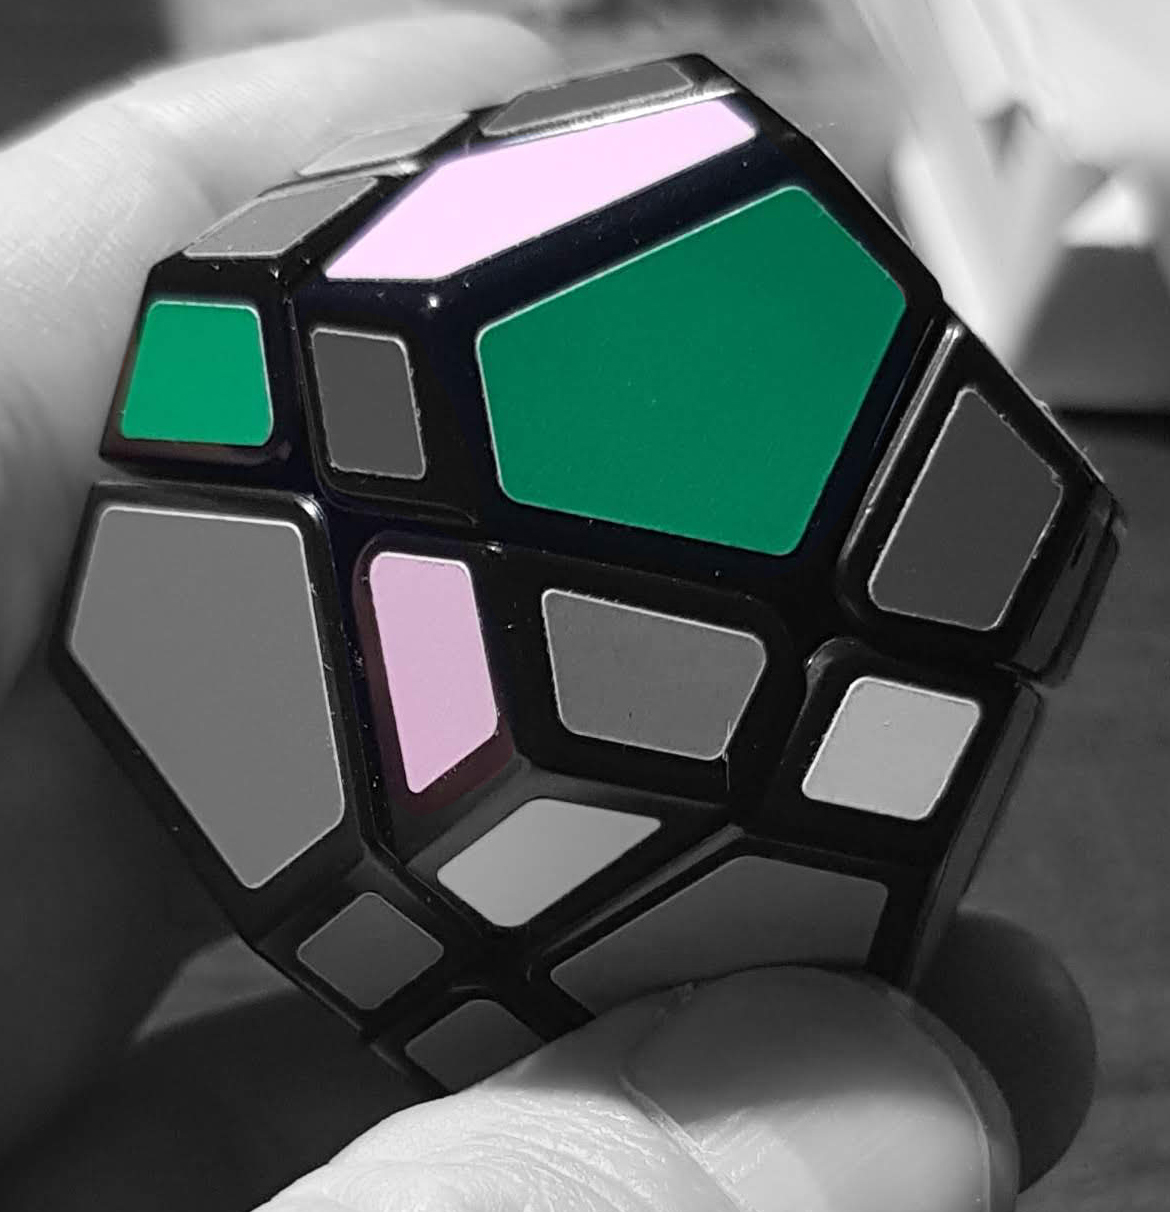
Step Four: Position Petals
After orienting the lengthy center slices, now you move the petals around in a convenient three-cycle. In this photo, the pink on the right will swap with the off-white on top which will swap with the grey to the far left. The standard up, up, down, down here is intuitive and can be used to align all these nicely and swiftly.


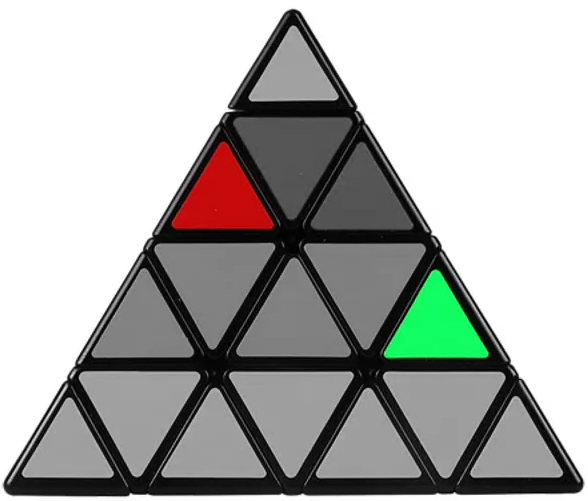
Step Five: Position Corners
This three-cycle will move corners counter-clockwise from left to center to right. You will begin by moving the top-left piece to the left section, performing the algorithm and then undoing.
So, if we go left, front, left, front – then swap the right piece down – then front, left, front, left and fix the right.
I assume there’s a mirror version of this, but for now, that’ll do it. L / F / L / F / R / F / L / F / L / R is your three-cycle.
Step Six: Orient Corners